
|
|
|
|
|
|
Home | Product | Downloads | Purchase | Support |
User Forum |
|
|
|
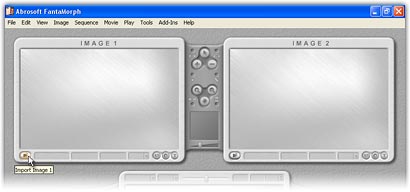
Lesson 1 - Import Source Image |
|
1. Click the Import Image
1 button (
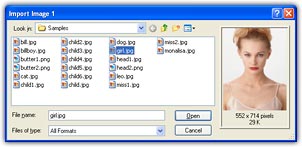
2. In the Import Image 1 window, choose one image file. There is a preview panel on the right. Select the image that you want to morph from for image 1. In this example, the "miss1.jpg" sample image (which comes included with FantaMorph for demonstration purposes) will serve as image 1.
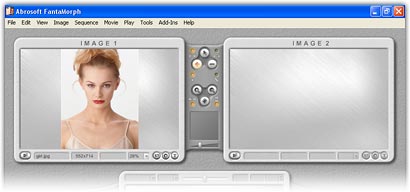
3. The selected image has appeared in the image 1 area in the main interface.
4. Click the Import Image
2 button (
| ||
|
Copyright © 2002-2004 Abrosoft. All rights reserved.
Contact Us |